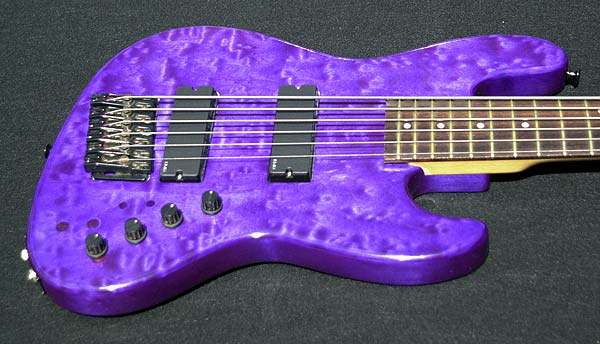
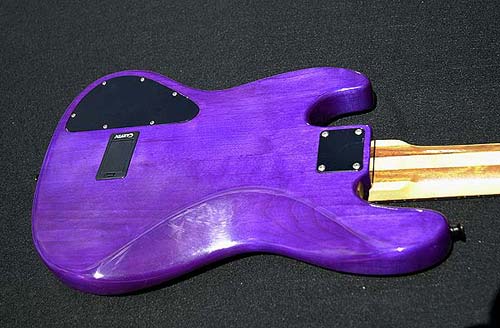
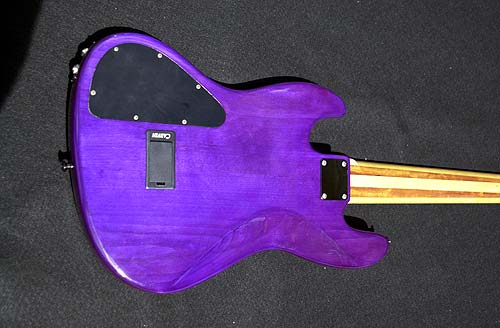
Warmoth "Barney" RestorationI bought this bass really cheap off of eBay. I talked to the seller (a guitar store, no less) before bidding and the owner assured me that there was nothing mechanically wrong with the bass. No cracks, etc. He had disclosed that one of the pickups was not working and that the neck had a pro finish job but the body had never been finished,... no big deal. The pics were kinda small, but everything looked okay. Alder body with quilted maple top, nice laminated neck (maple and mahogany).So... upon receiving it the body was obviously not originally routed for soapbars, and someone had put them in with a hammer and chisel! There was also a crack in the body by the control cavity. The body was extremely dirty and had a ton of scratches, dents and gouges in it. It also had a kahler bridge, but had never been routed for it (relief). Of course, from the pics I knew it had a TON of holes drilled in the top for all the knobs and switches and stuff.... Well, I was really disappointed in the chisel job around the pickups... not only that but the chiselled holes were sligthly too big for the pickups. I contacted the seller right away to try to send it back and he just said "you never asked me if the pickups had been installed properly or not....". I advised him that I had asked if there were any mechanical or wood working problems and he had said no. He agreed, but again stated that I had not asked him specifically about the pickup holes. His solution? He offered to re-sell it for me on eBay! Well, my integrity would not let me do that, and I also - as silly as this sounds - felt bad for the bass (I'm the kinda guy that as a kid brought home every stray cat and dog....), so should I keep it and restore it or sell it? The neck is really nice, good frets, nice and straight, dual truss rods, so I decided to keep it and fix it up for myself. I ordered two new EMG 45P active pickups for it, and decided to use all the existing hardware (tuning keys, kahler bridge, etc...). Eventually I plan on replacing the tuning keys with a matching set of black locking sperzels, but for now the goal was just to triage it, stitch it up and get it sounding good and back to active duty. I knew I was just going to bang it into mic stands and cymbal stands and the like. In fact, I like `em better when they start to show wear and tear from being played! Here are a few pics of the body as I got started on it  The body in as received condition with just putty placed in gouges. 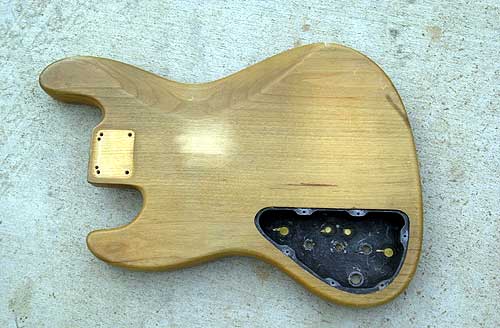 View of back of body (first few holes plugged...) 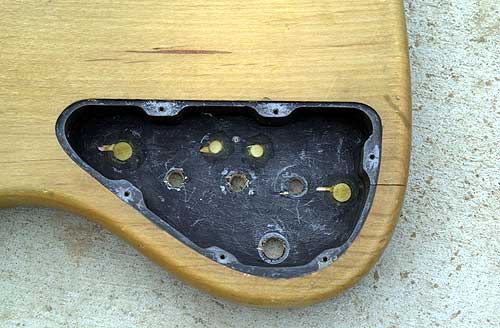 Detail view of small crack by control cavity. No biggie.... The big decision I had to make before getting started was the quilted top. Should I plug all the holes and clean up the chiselled pickup cavities or just remove the top and put a new top on it and start fresh? It really didn't have very much quilt figuring in it. Well, after much deliberation I decided to stay with the original top, as I wanted the bass to continue to have it's "battle scars", as I felt that they gave it character and were reminders of it's history.... so I put wood putty in the gouges (I know... I know....), hardwood dowels (quicker, cheaper and easier than making maple plugs and matching up the grain...) in the control cavity holes. I thought about plugging the pickup holes and rerouting, but as this was going to be a "working bass", I decided to just clean up the holes with my router and leave it at that. I clamped and glued up the crack near the control cavity, and routed out a hole in the side for stereo output jacks (of course). Next was to strip the body down, then multiple block sanding sessions to level it all out. Then I cleaned up the pickup cavities, routed the body for the Kahler bridge, and finally routed a cavity in the back for the battery compartment so I wouldn't need to open the control cavity just to change the battery. 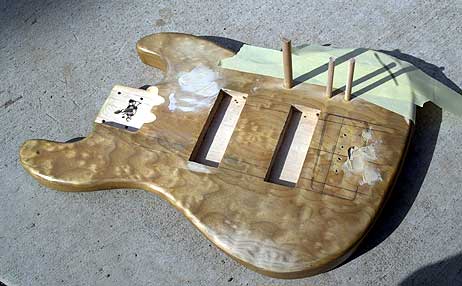 Plugging the holes with dowels 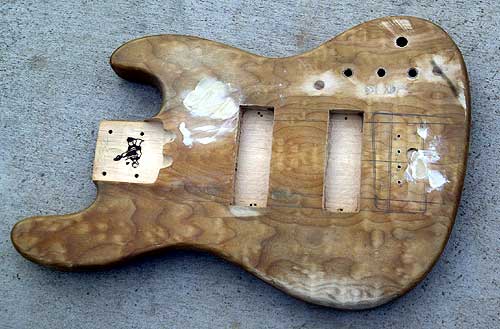 Plugging the holes with dowels 2 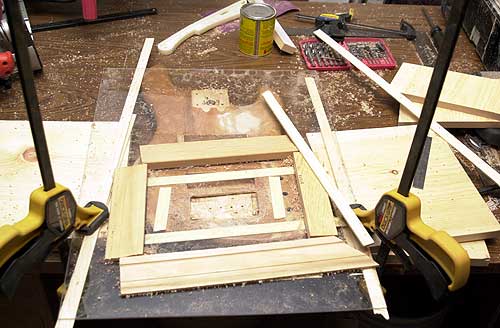 Routing for kahler bridge 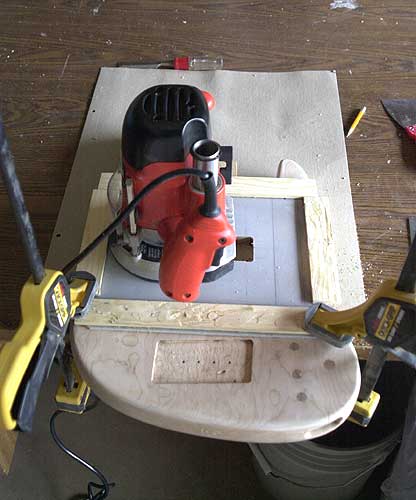 Cleanup routing of pickup cavities 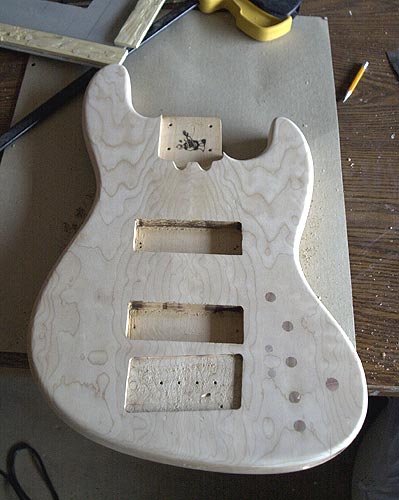 Front routing completed! 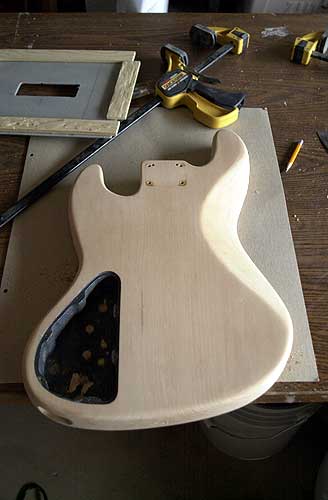 Preparing to route for battery compartment 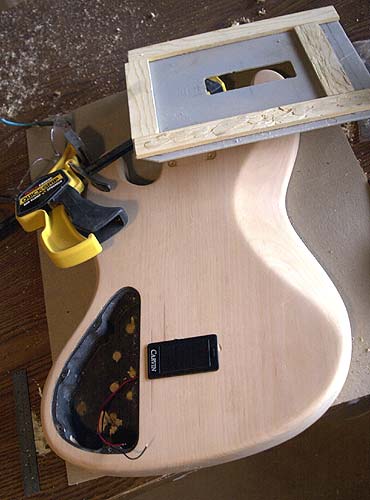 Battery compartment done, perfect fit! (Whoops, how'd that ding get there?!) Since I had decided to keep it, that solved the question of color - PURPLE! I ordered the water based purple stain from Guitar Reranch. As it is a water based dye, the first application (OH YEAH! That's PURPLE!...) raised the grain, so I had to block it down and stain it again. Then 4 or 5 coats of lacquer, then I blocked it down. There were a few low spots, but hey, again, it gave it character, and it was going to be a "player" bass for myself, so I didn't bother building them up. My goal was to get a pretty decent finish on it to protect the wood, let it's scars show, and get it playable. 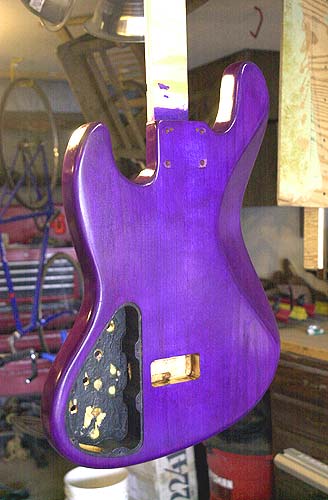 First few coats of lacquer before blocking it down, rear So, 5 more coats of lacquer, then block sanding again, then the final 4 or 5 coats of lacquer. I let it cure for a few days, then started wet block sanding with 600 grit, then 1000, then 1500, then 2000. Then buffing it out and voila! Then I went to build it up and realized I didn't have a spare set of strings, so I had to order a set and wait for them to show up (none of the local music stores carry Ken Smiths, so JustStrings.com gets my money.....) to finish the setup of it. Here are the pics of the finished bass, now lovingly dubbed: "Barney"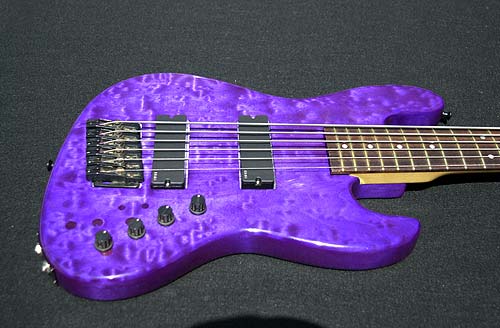


:^)~ |